For the longest time, we have only known image placeholders in Powerpoint in simple rectangular or square shapes. Similarly, images and pictures have always been displayed and viewed in those shapes. However, when it comes to presentation in PowerPoint, an unconventional framing of your image can elevate and add excitement to your presentation or template. Today, we would like to share with you some of the tips and tricks on how to create custom-shaped image placeholders in Powerpoint slide master.
Before We Start…
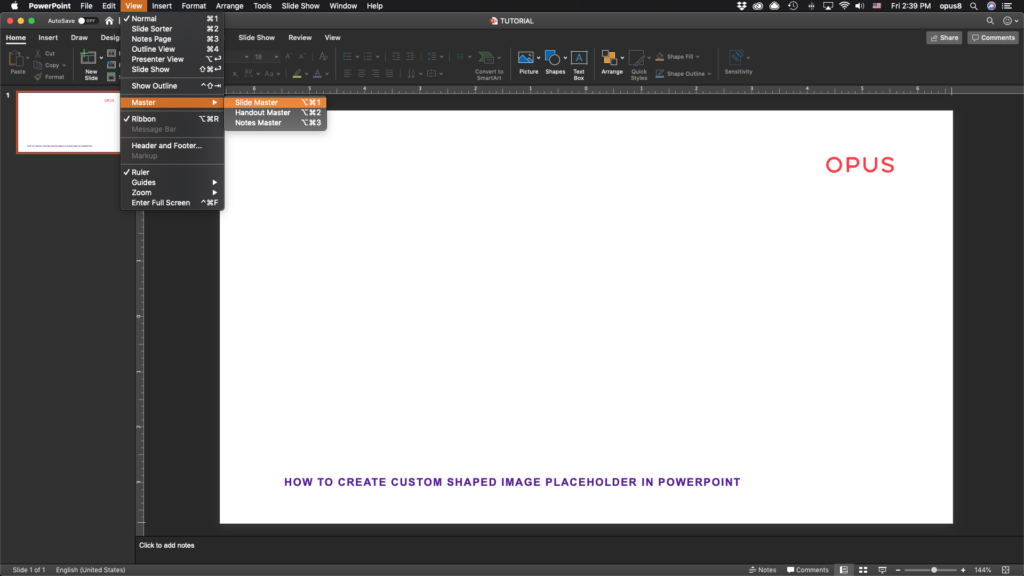
Make sure you open the “Slide Master” in Powerpoint during the entirety of this tutorial.
To go to the “Slide Master” view:
- go to the navigation panel
- click View > Master > Slide Master
- hit Command + Alt + 1 keys.
The Tutorial
Making the custom shapes
First, we need to determine what the shape for the placeholder is. There are many ways to create a custom shape. It all depends on what you are looking for, or the level of complexity of the shape that you are trying to create.
Here are three different methods you can use to create the custom shapes that you want:
1. Use The Shapes Panel in Powerpoint:
Powerpoint does come with a collection of pre-existing simple shapes that you can use.
- To access these shapes, simply go to “Insert” on the navigation panel
- Click on the “Shapes” icon
- Select the shape of your choice.
2. Make Your Own Custom Shapes
You can bring in custom shapes from other programs such as Illustrator, Photoshop, AutoCAD, etc.
- First, create the shape (I am using Illustrator for this tutorial).
- Next, export your shape into an SVG file
- In Powerpoint Slide Master, go to “Insert”, select the Picture > Picture from File, select your SVG file and click “Insert”
- Then, select your SVG shape, under the Graphics Format panel that appears, select “Converting to Shapes”
- Click “Yes”
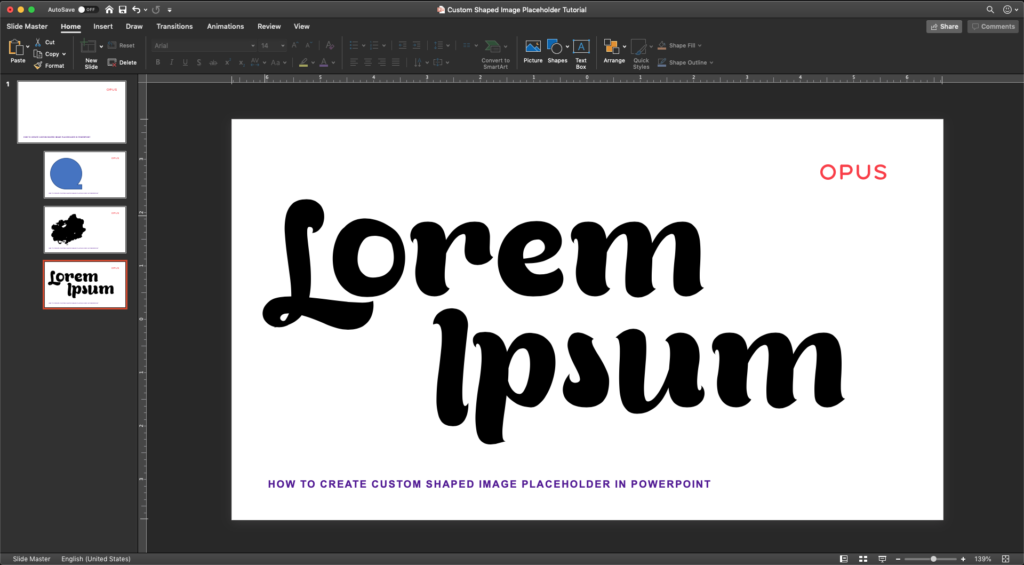
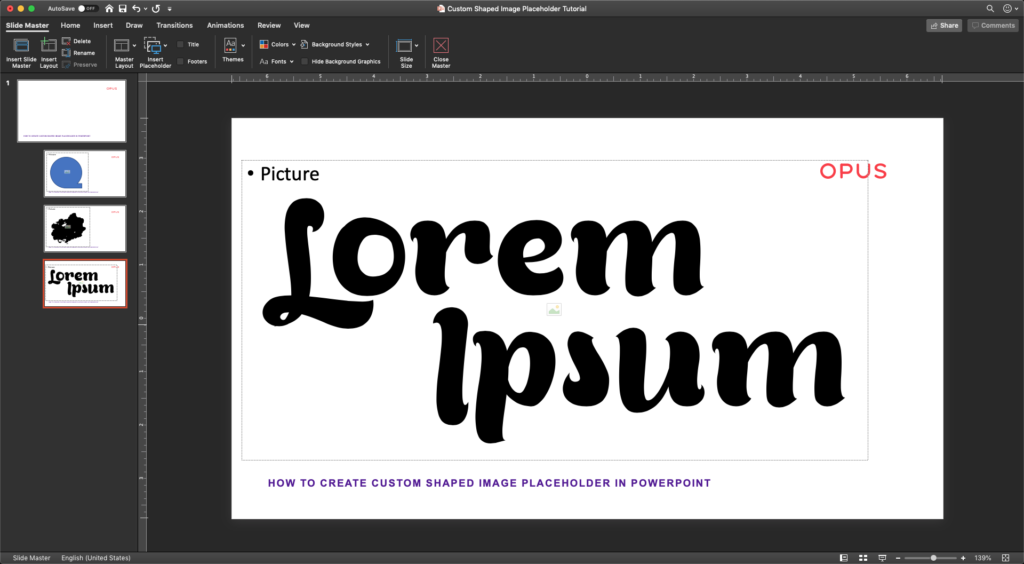
3. Use a font. Yes, a font!
This may sound like a strange way to create custom shapes, but you can convert type to shape if you want to place your image inside a letter(s) or word(s).
- Under “Home” panel on the navigation bar, select “Text Box”
- Choose a font of your choice (I am choosing “Bready Alternates Demo”)
- Type your choice of letters or words (I am sticking to the good ole’ “Lorem Ipsum”)
- Resize and position your text where you want it to be on the layout
Now that we have our shapes ready, let’s get to it!
Creating the Image Placeholder
This is fairly simple:
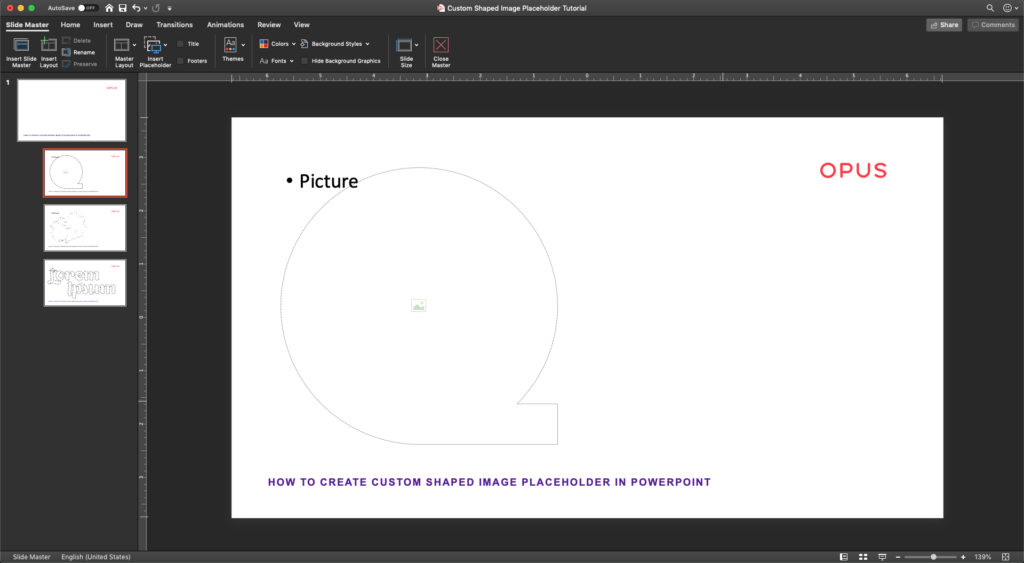
- In the navigation bar, go to “Slide Master”
- Go to “Insert Placeholder”, click on the down arrow next to it, then select “Picture”
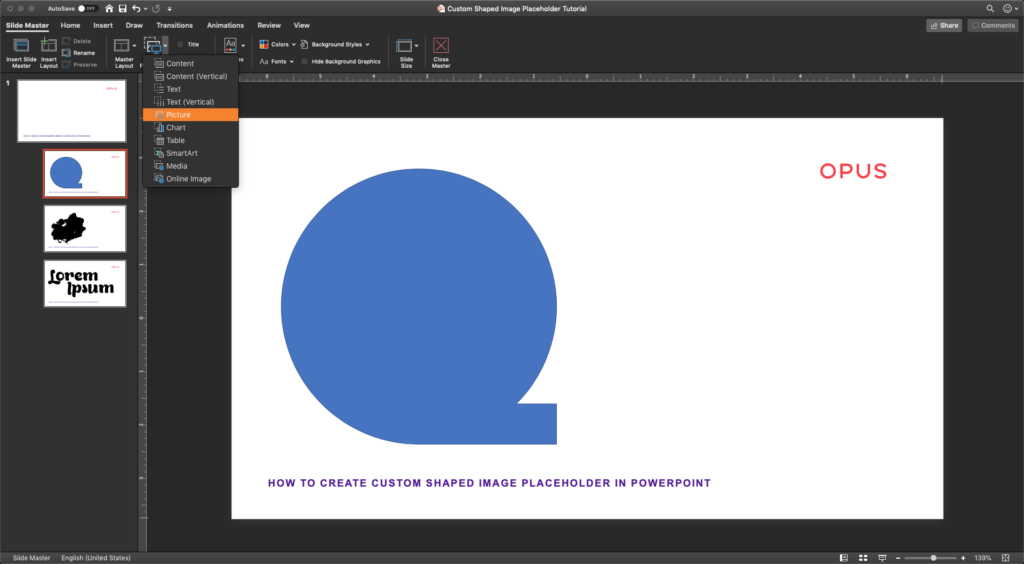
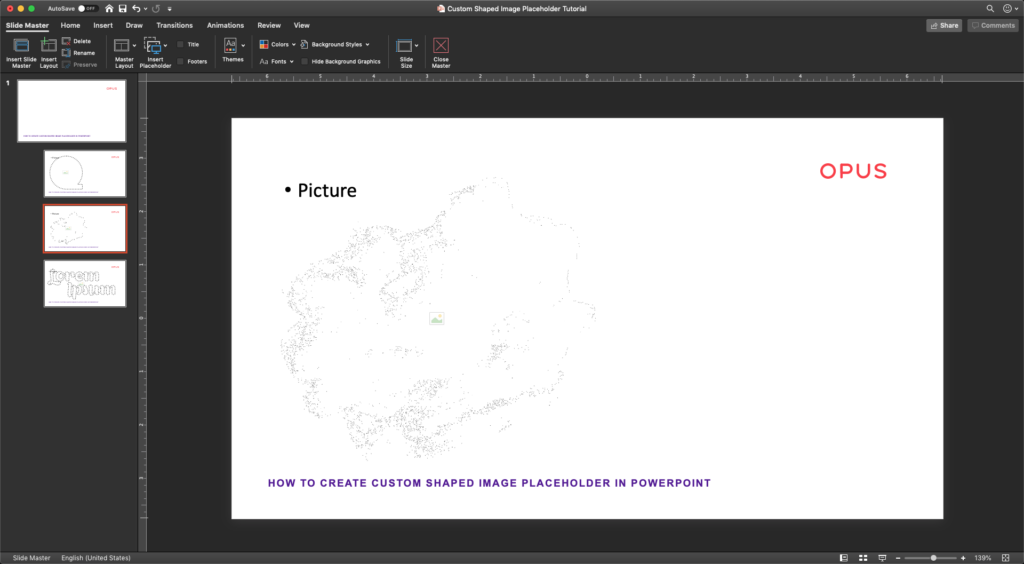
- Draw a rectangle big enough to cover all of your custom shapes
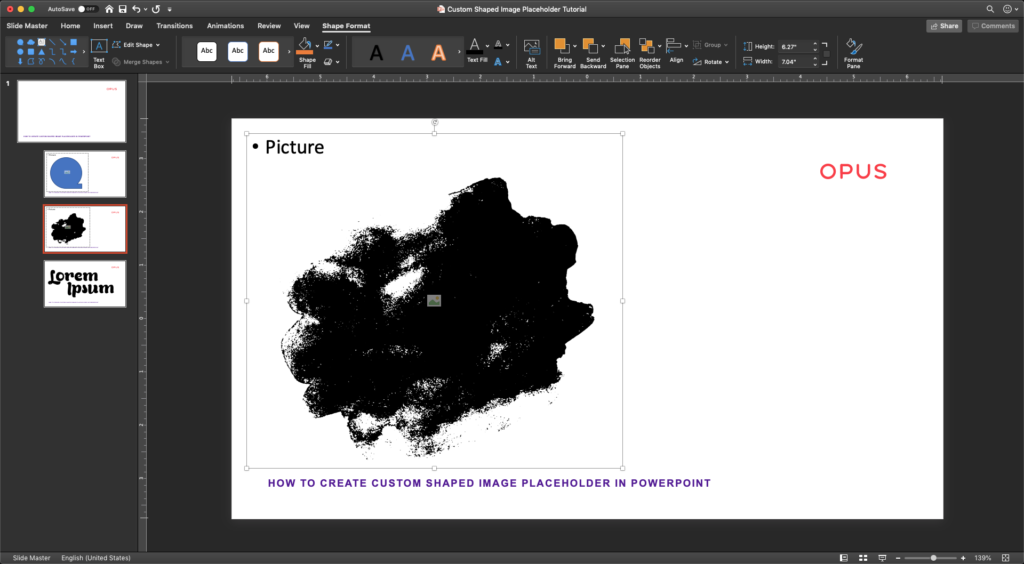
- Now, select both your custom shape and the image placeholder
- Go to “Shape Format”, select the down arrow next to “Merge Shapes”, and select “Intersect”
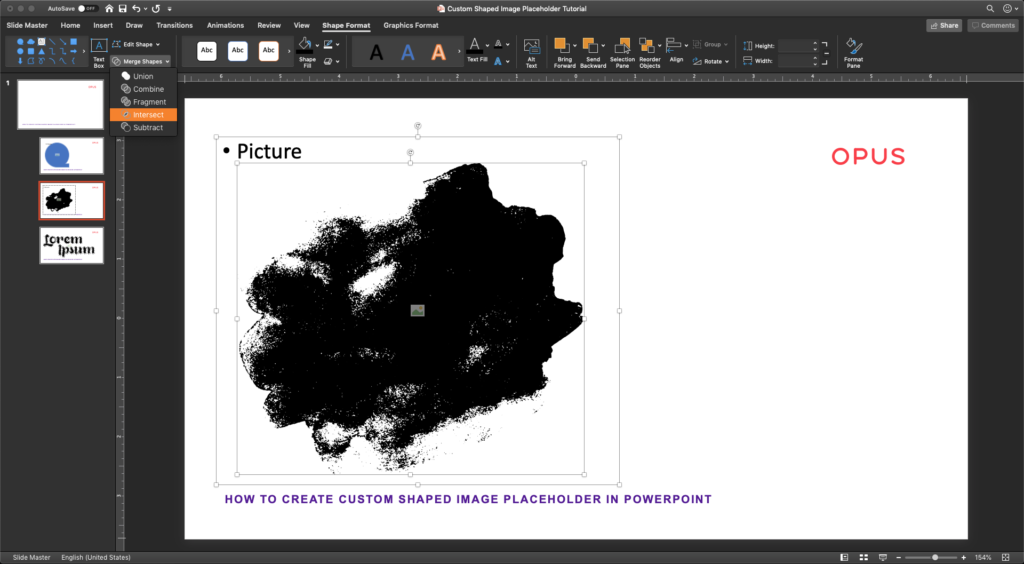
Now you should have something that looks like this:

Testing your placeholder
Now that you have your custom-shaped placeholders, here are a couple of ways to test and see if they are working:
- Select the shape and add a fill color. This will let you know if the shape merging worked successfully.
- Go back to “Normal” view mode and start placing images into your custom placeholder
There you have it! That was our tutorial on how to create a custom shaped image placeholder in Microsoft Powerpoint. We hope you find it useful and happy creating!
In the meantime, if you need help with your Powerpoint presentation, pitch deck, or simply want a beautiful custom powerpoint template of your brand, feel free to reach out to us via our Contact page, check out our other blog posts, as well as our brand new portfolio on this website.