Illustrator possesses a wide array of tools that provides artists with endless creative possibilities. However, with all this equipment at the user’s disposal, it is easy for some tools to get lost in the ever-expanding interface. In addition, the program can become very overwhelming and consequently, designers oftentimes avoid certain tools that they deem intimidating.
Here are 3 very helpful, lesser known Illustrator tools that I have learned during my apprenticeship at Opus:
Width tool
When it comes to creating dynamic icons and logos, many designers are firm on employing the calligraphy brush. Despite the brush’s ability to give different widths to strokes, it does not allow the user much control over the final design. The Width Tool is the answer to this dilemma.
Here’s how it works
Select the Width Tool from the toolbox (Shortcut: SHIFT-W). Once selected, move along the desired stroke and click and drag away from the center of the line to increase the width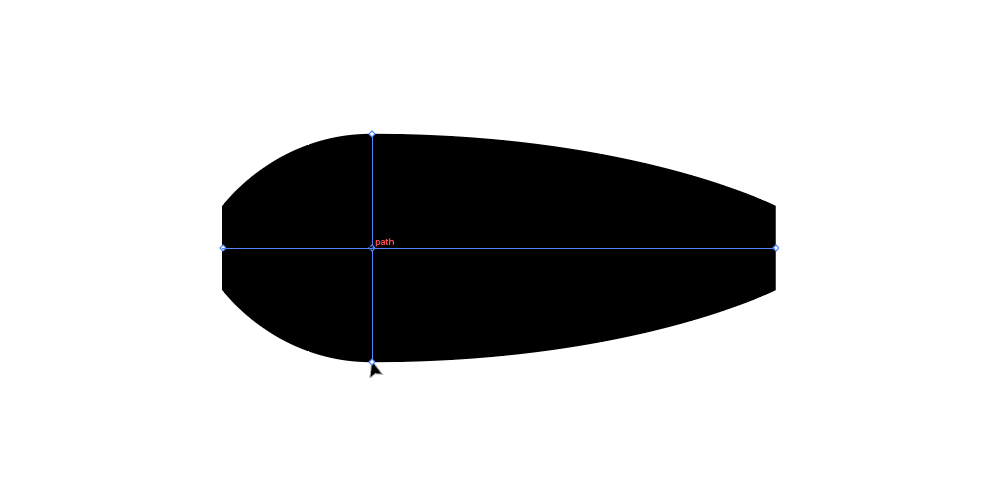
or towards the center of the line to decrease the width.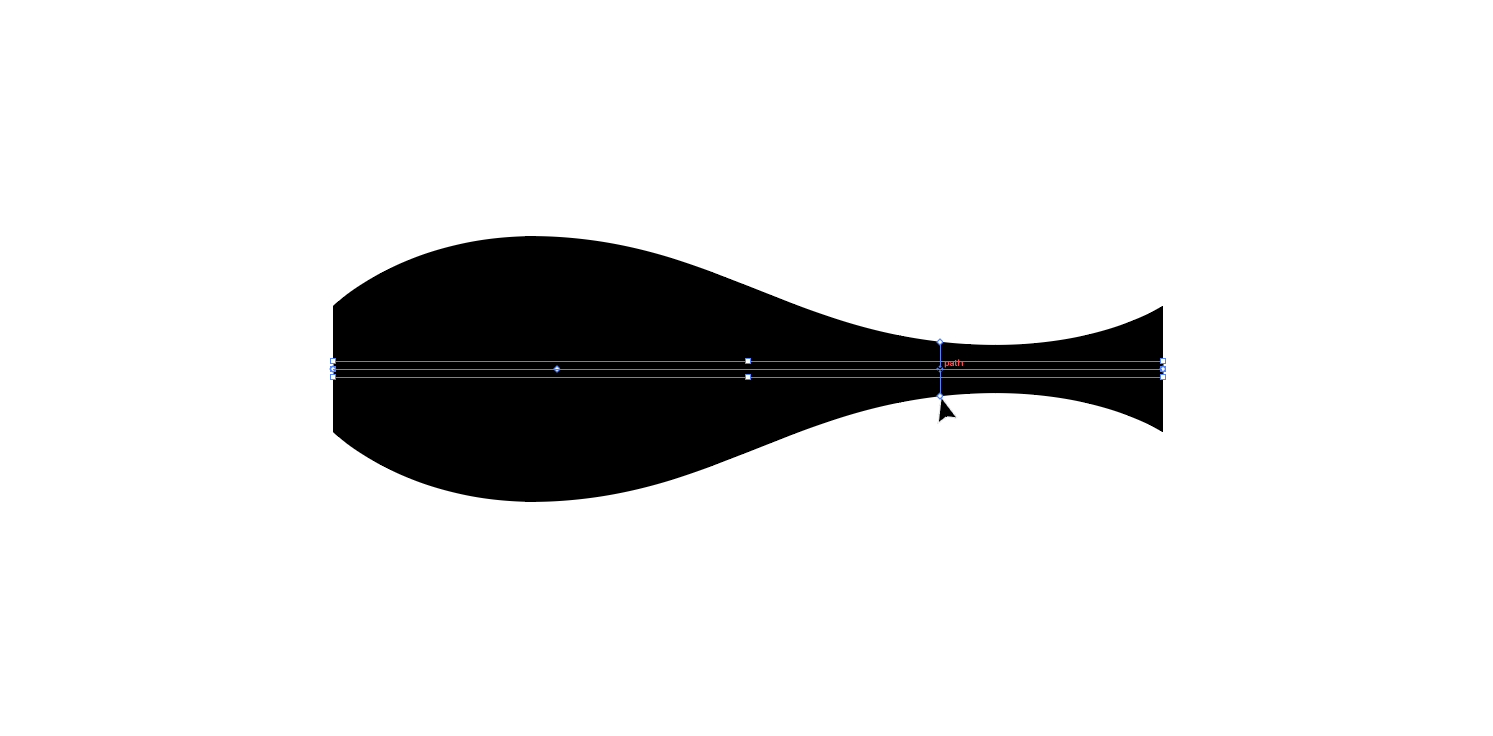
Grabbing the nodes on the outer edges of the stroke create a tapered line.
You may also distort the width asymmetrically by holding ALT as you drag.
Smooth Tool
The Pen is arguably the most used tool in Illustrator. It takes a great deal of experience to perfect this essential device. Even after years of practice, imperfections are bound to appear when using the pen. However, the Smooth Tool alleviates the stress of having annoying wonky lines by automatically adding new anchors that smooth the stroke.
Here’s how it works
Simply select your path and then draw over it with the smooth tool to reduce the flaws. Unfortunately, there is no shortcut key for this handy tool.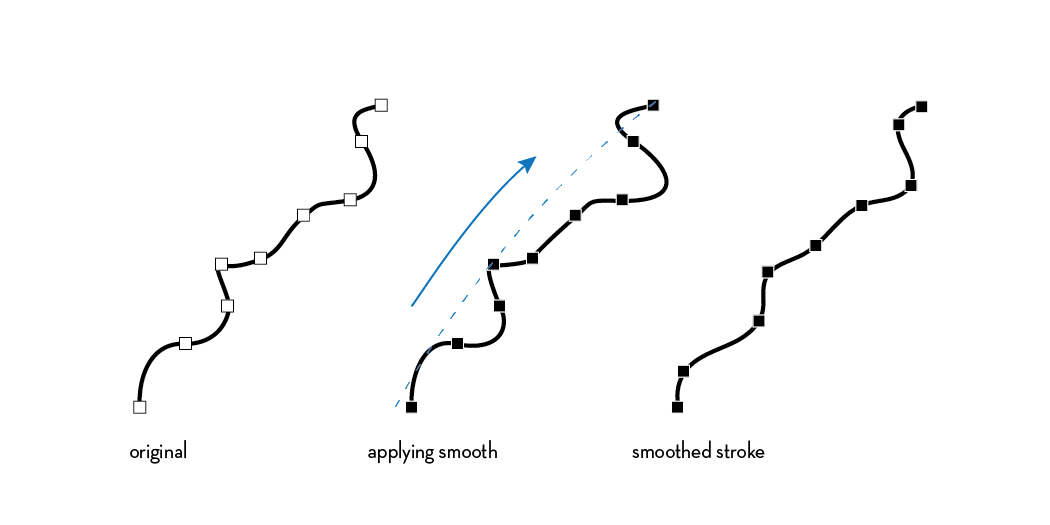
Blend tool
When creating detailed imagery, the Blend Tool becomes very useful as it adds extra dimension and interest to designs. The Blend Tool may be used to merge objects, shapes and color in an almost infinite number of ways. By blending a red square with a yellow circle, for example, not only may you render a smooth transition from one hue to the other, but you may also create and distribute shapes evenly between the two objects. This can become very interesting when blending unique designs. The only disadvantage of using this tool is that it utilizes a lot of RAM.
Here’s how it works
Create two objects that you would like to blend. Select the Blend Tool from the toolbox (Shortcut: W). Click on an anchor of the first object and then click on an anchor of the second.
From there the two objects will be blended. 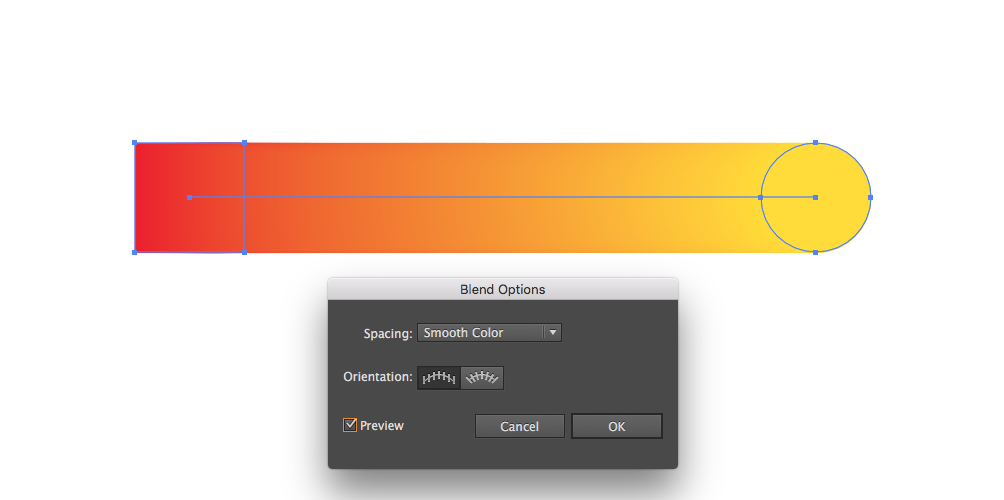 To edit the blend, double click the Blend Tool icon from the toolbox to launch Blend Options. In the control panel, you are able to render your blend in either smooth color specified steps or specified distance.
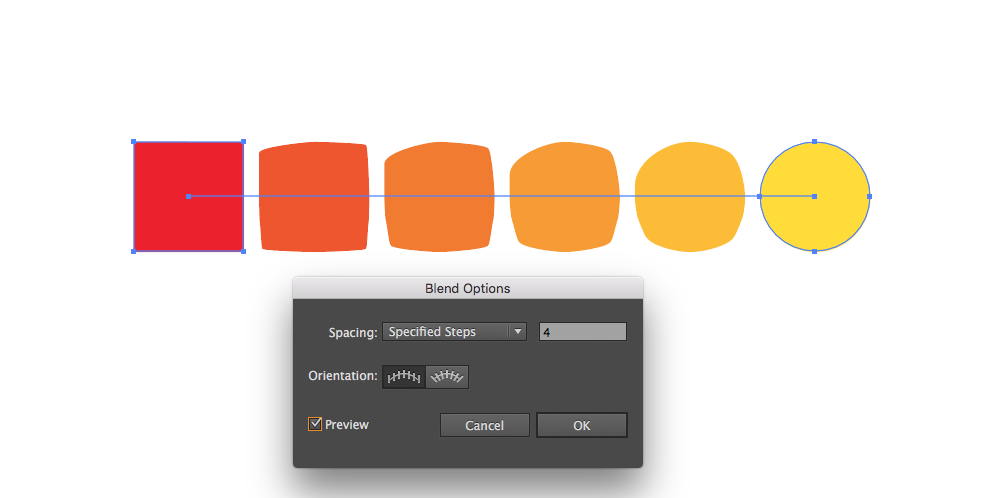
I hope these tips will help your design endeavors as they have mine!